Business ACH Services: How to Add, Edit or Delete a Recipient
The Recipients tab allows you to add, edit, and delete ACH recipients for your organization. After you add an ACH recipient, you can add the recipient to an ACH template and schedule the transaction in a template. Use the Search Recipients field to locate an existing recipient, and the Sort by field to sort the search recipient list by Category, Name, or ID.
Mobile
If you're using a mobile device, follow the steps below. For computers, go to the desktop steps
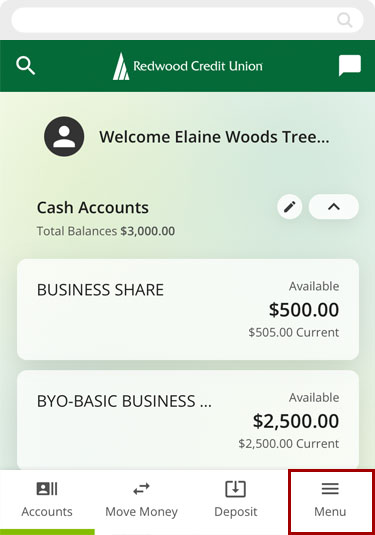
Select Menu from the bottom right.
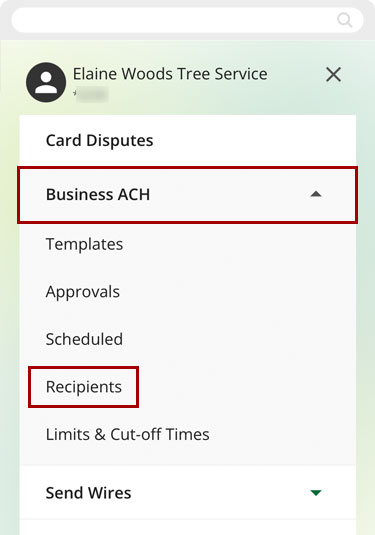
Tap Business ACH and select Recipients.
Create a New Recipient
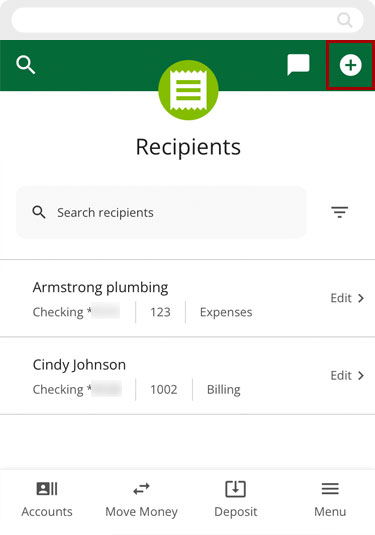
Tap the plus sign at top right to add a new recipient.
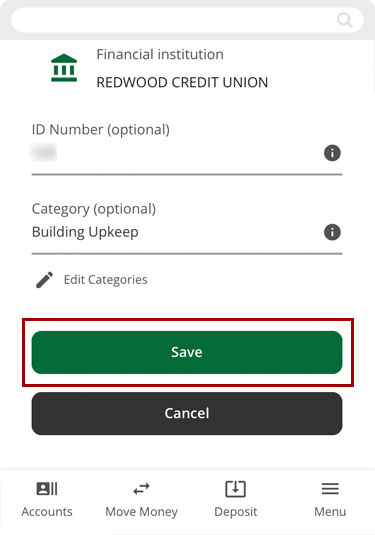
Fill in the Recipient details:
- Name
- Nickname (optional)
- Account number and confirm account number
- Account Type (type of account at other FI)
- Routing Number at other institution
- ID Number (optional – such as an employee or vendor number)
- Add or Edit Category (optional)
Tap Save.
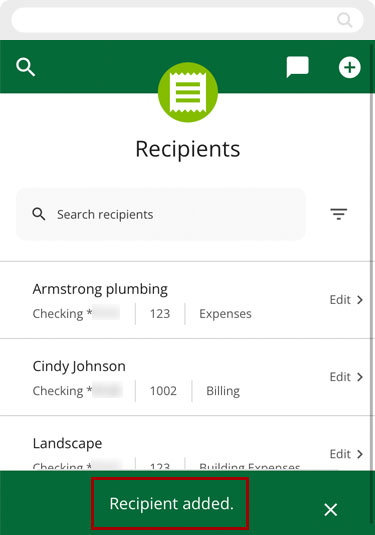
You will see a message confirming your new recipient was added.
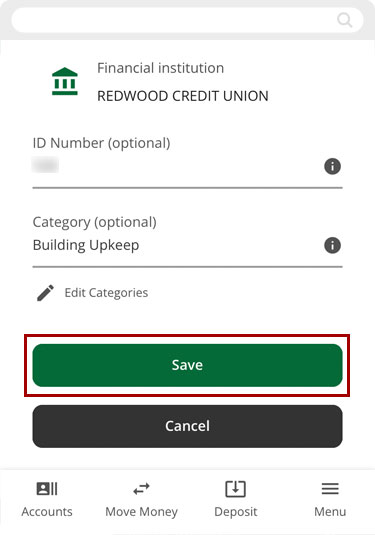
Edit a Recipient
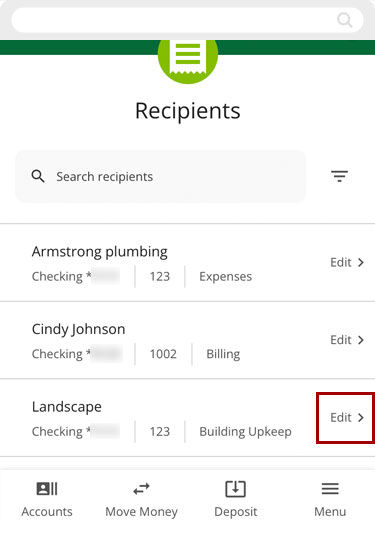
From the Recipients screen, tap Edit to adjust your recipients.
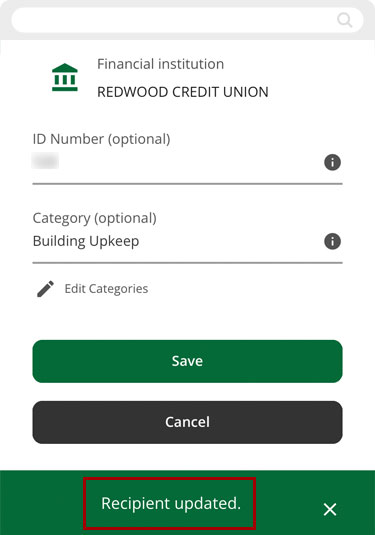
Make changes to the recipient and tap Save.
You will see a message confirming your recipient was updated.
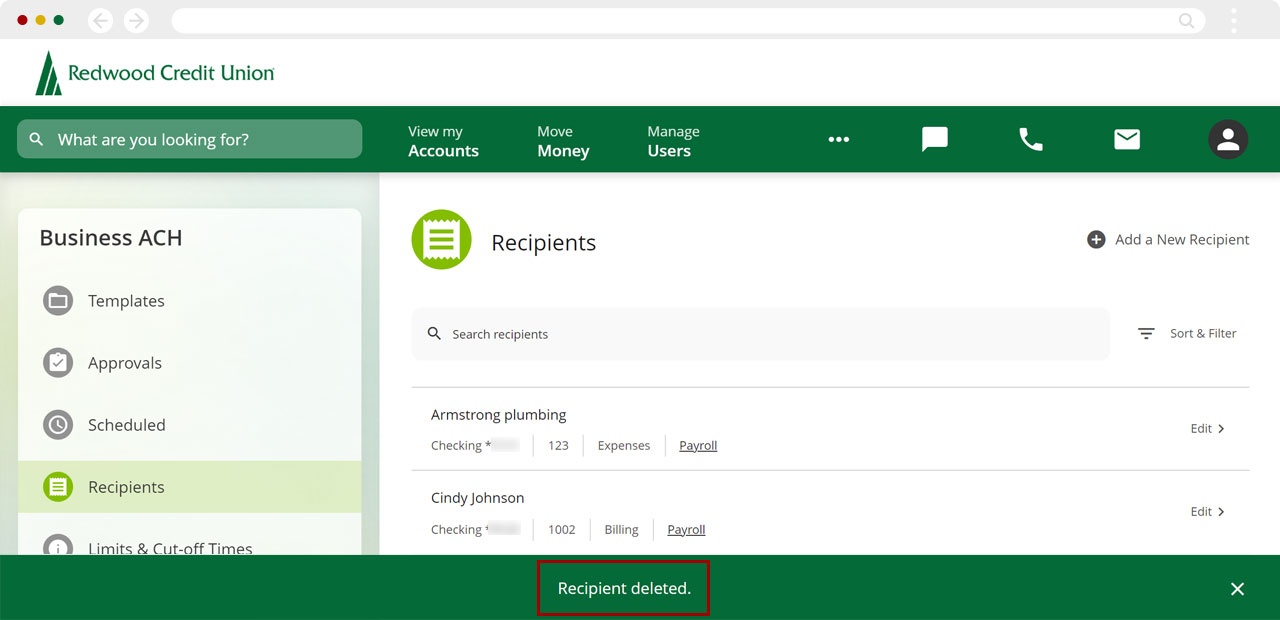
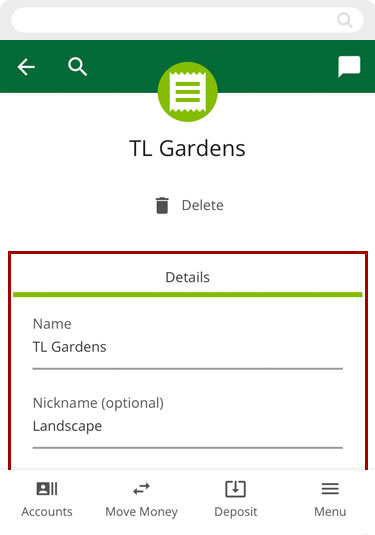
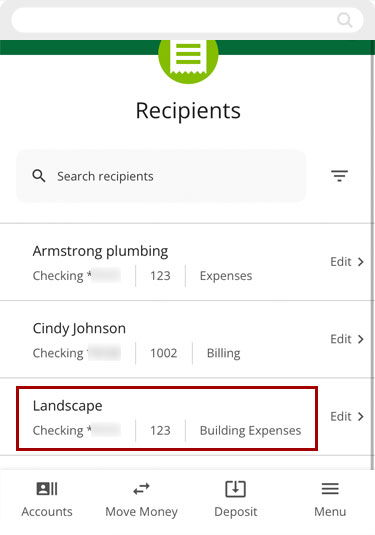
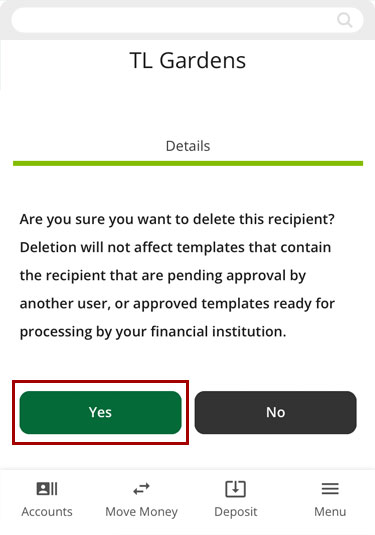
Delete a Recipient
From the Recipients screen, select the recipient you want to delete.
Tap Delete on the top.
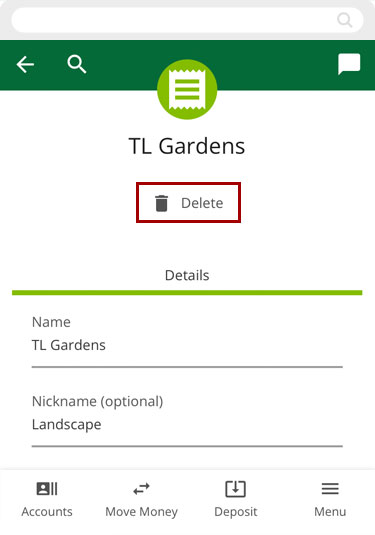
On the confirmation page, tap Yes to delete the recipient.
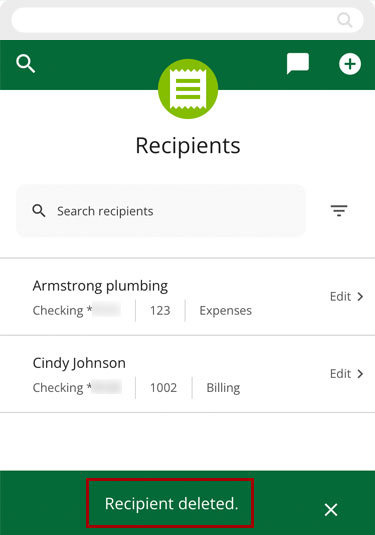
You will see a message confirming your recipient was deleted.
Desktop
If you're using a computer, follow the steps below. For mobile devices, go to the mobile steps
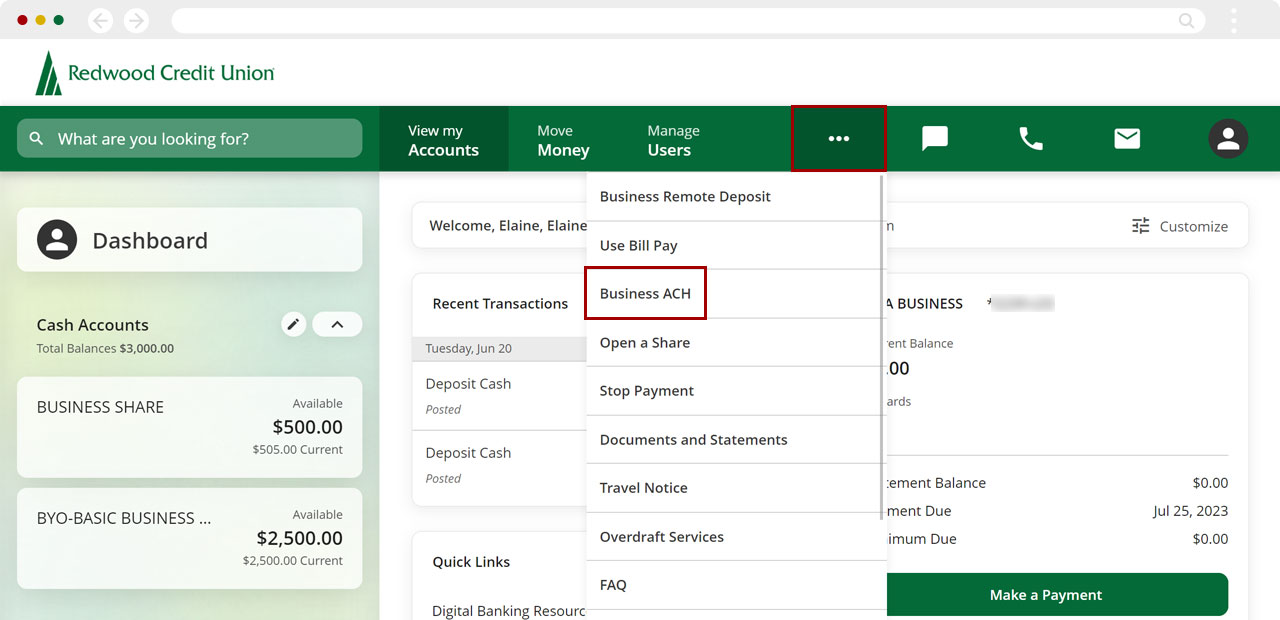
Click the three dots (...) at top right to open the More menu and select Business ACH.
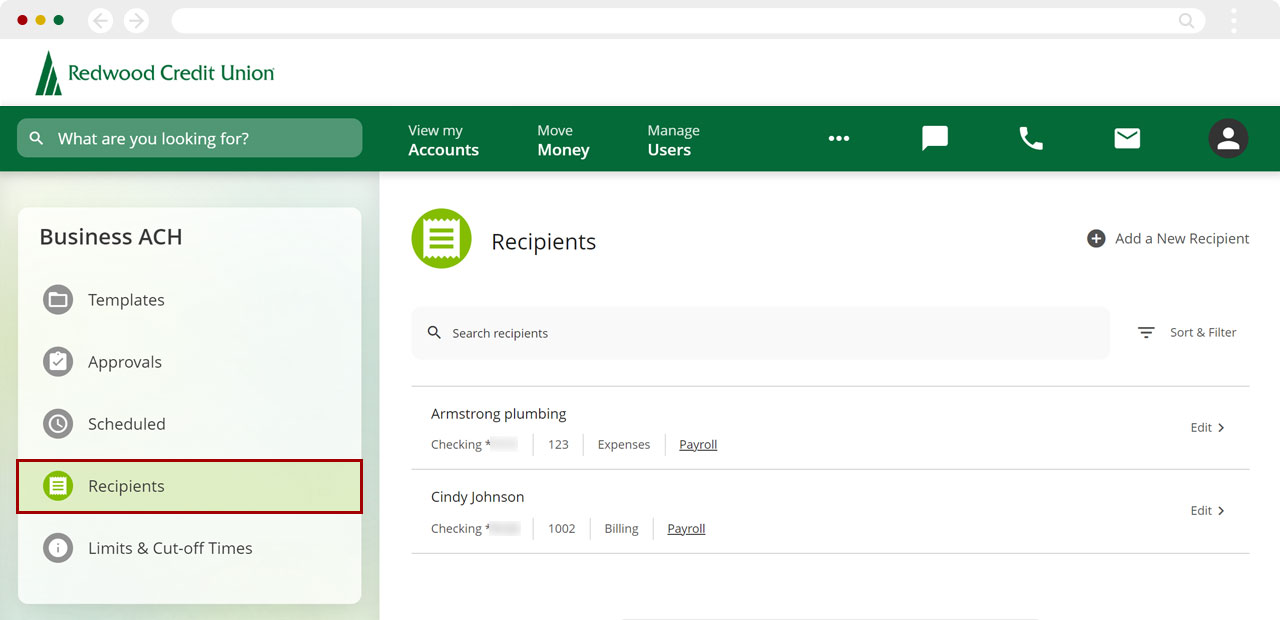
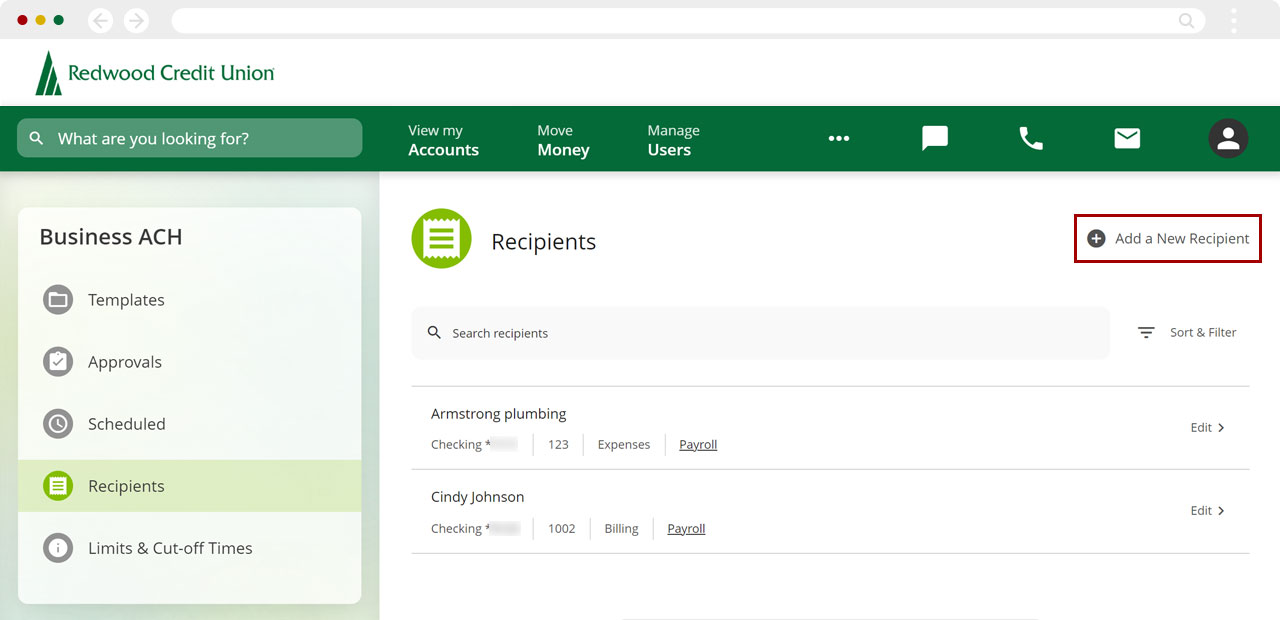
From the sidebar menu, click Recipients.
Create a New Recipient
Click Add New Recipient at top right.
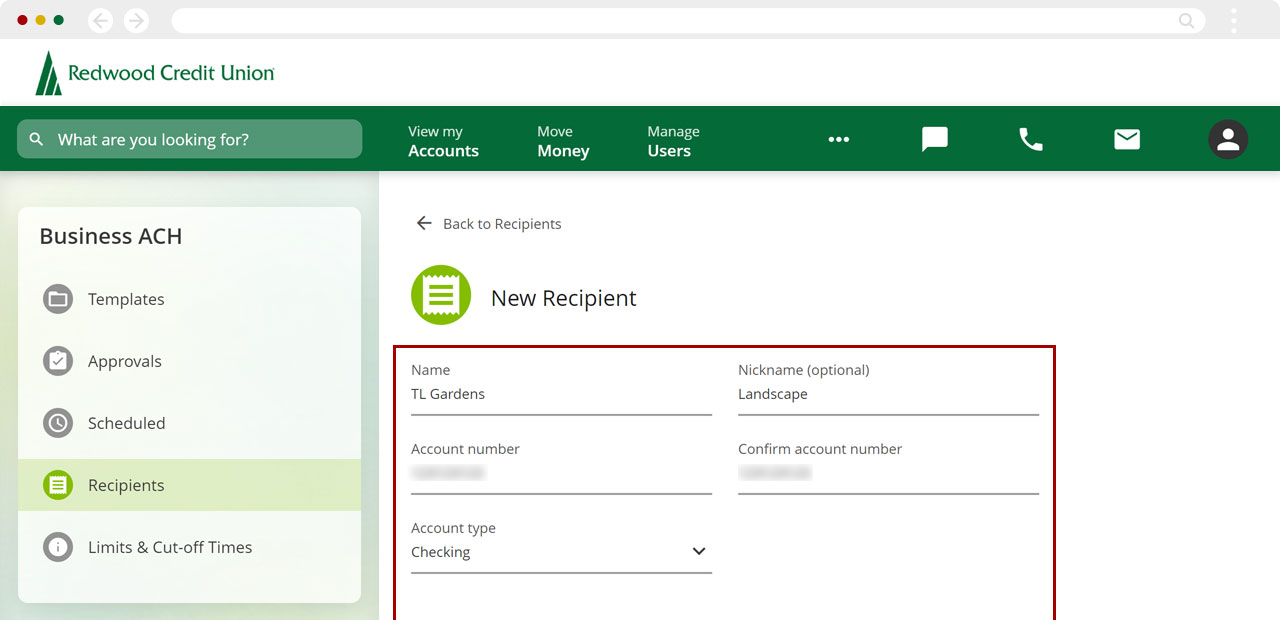
Fill in the Recipient details:
- Name
- Nickname (optional)
- Account number and confirm account number
- Account Type (type of account at other FI)
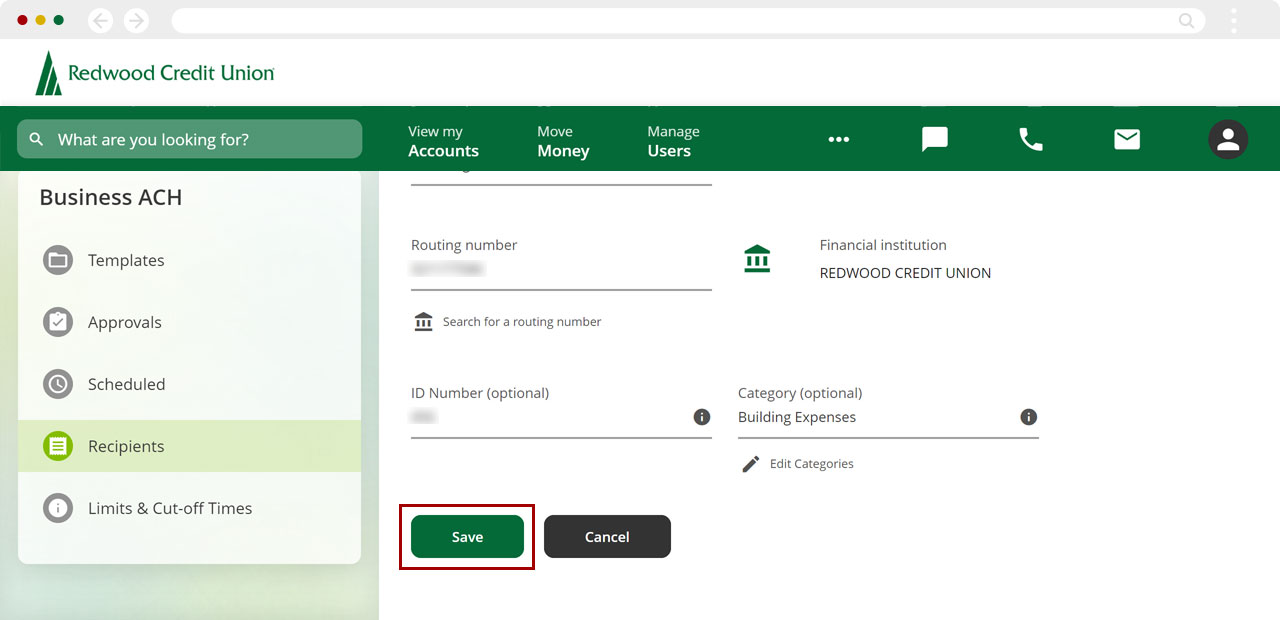
- Routing Number at other institution
- ID Number (optional – such as an employee or vendor number)
- Add or Edit Category (optional)
Click Save.
You will see a message confirming your new recipient was added.

Edit a Recipient
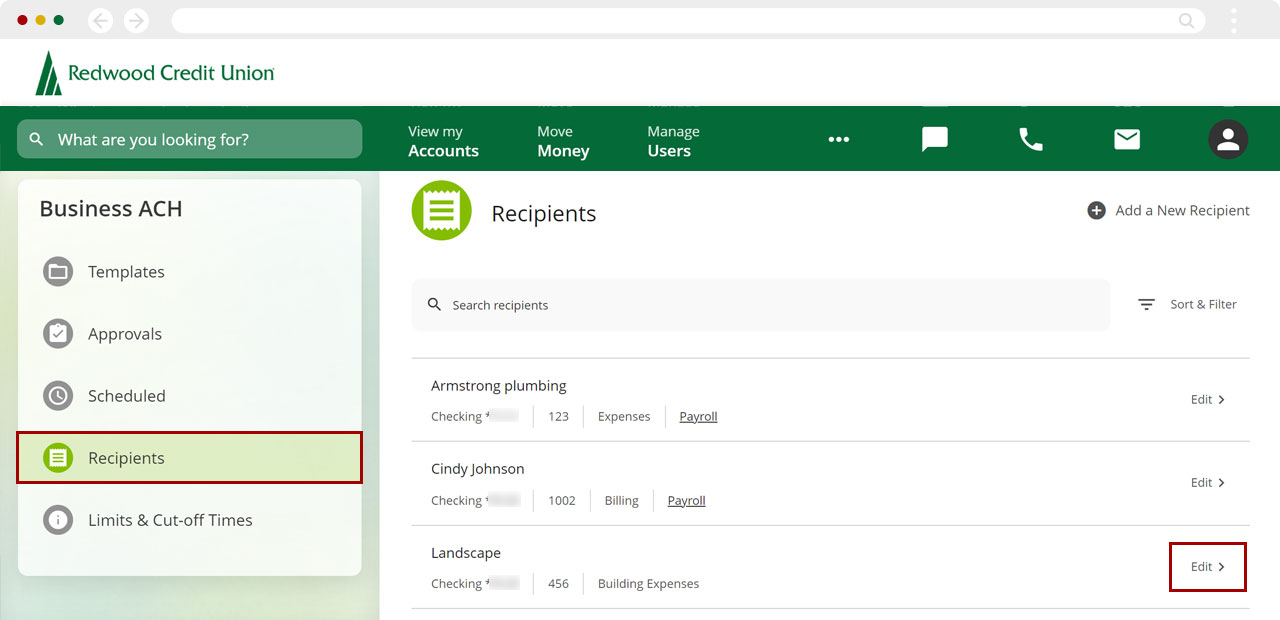
From the Recipients screen, click Edit to adjust your recipients.
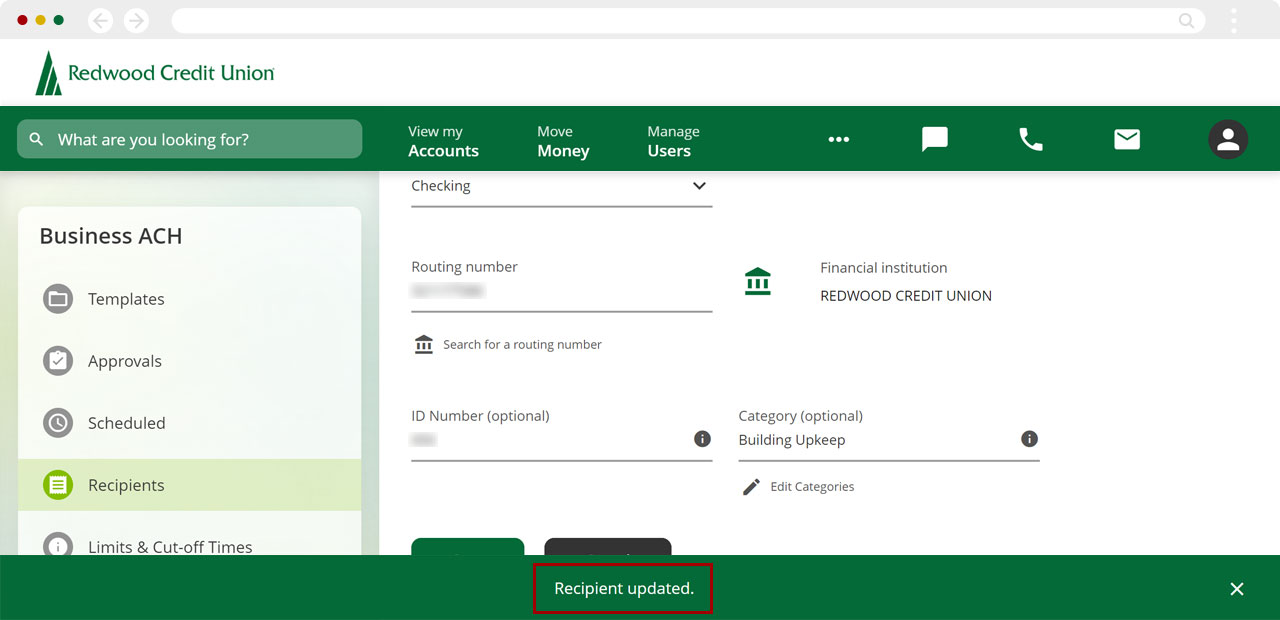
Make changes to the recipient and click Save.
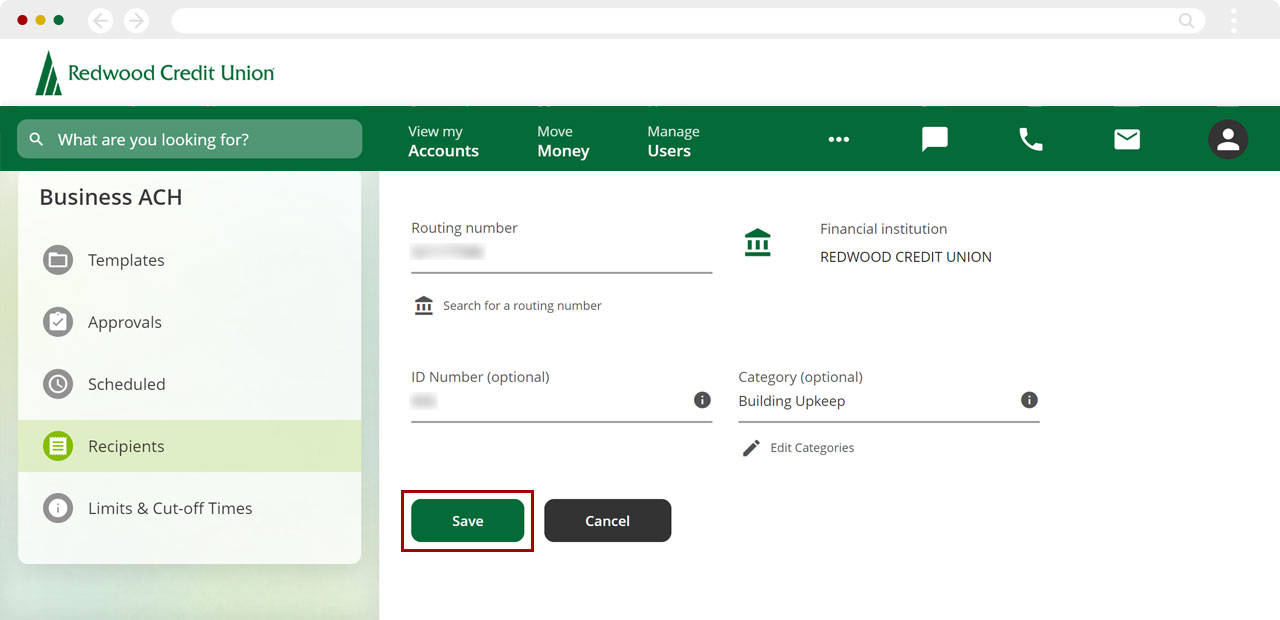
You will see a message confirming your recipient was updated.
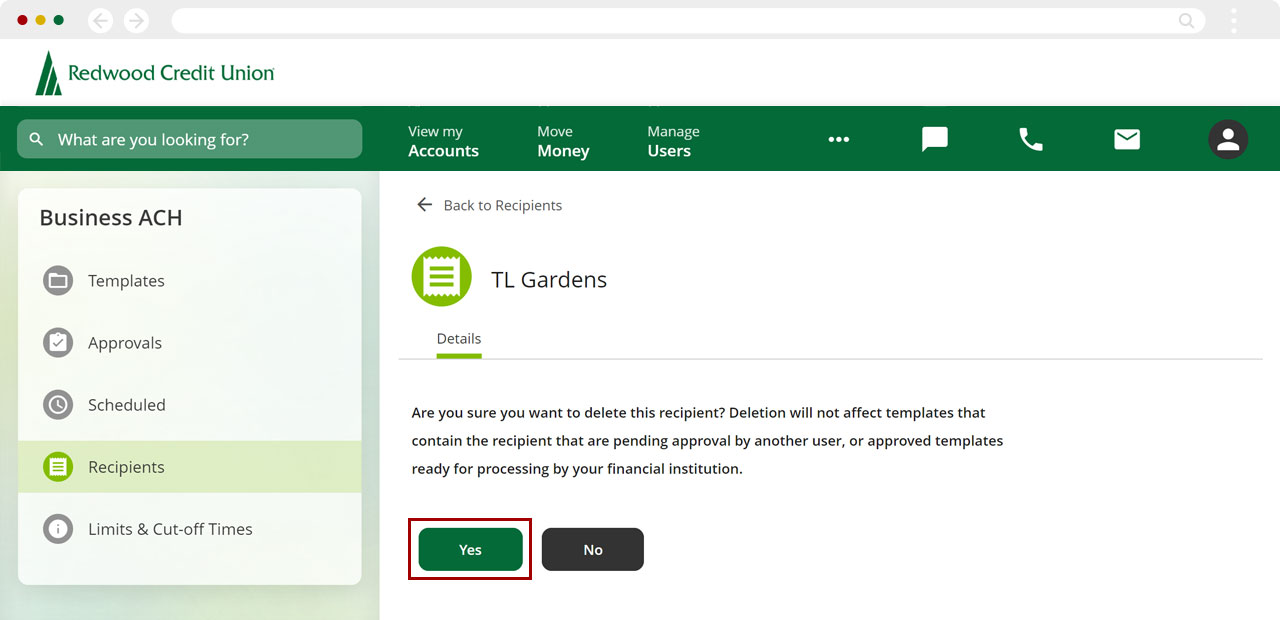
Delete a Recipient
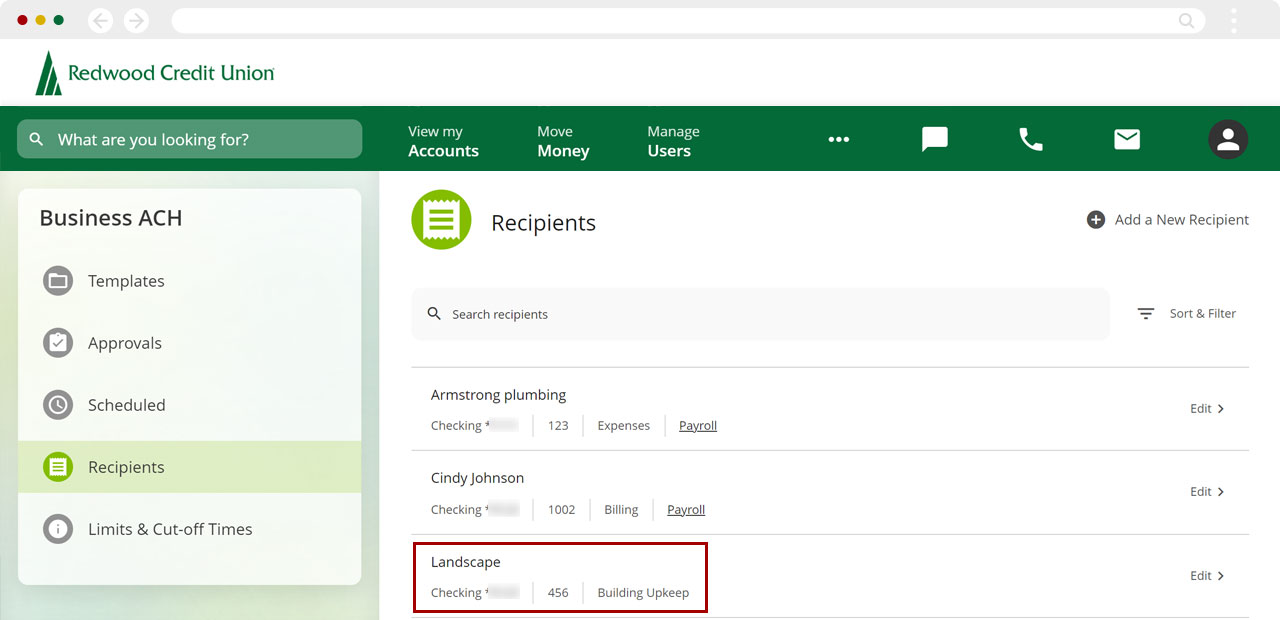
From the Recipients screen, click the recipient you want to delete.
Click Delete at top right.
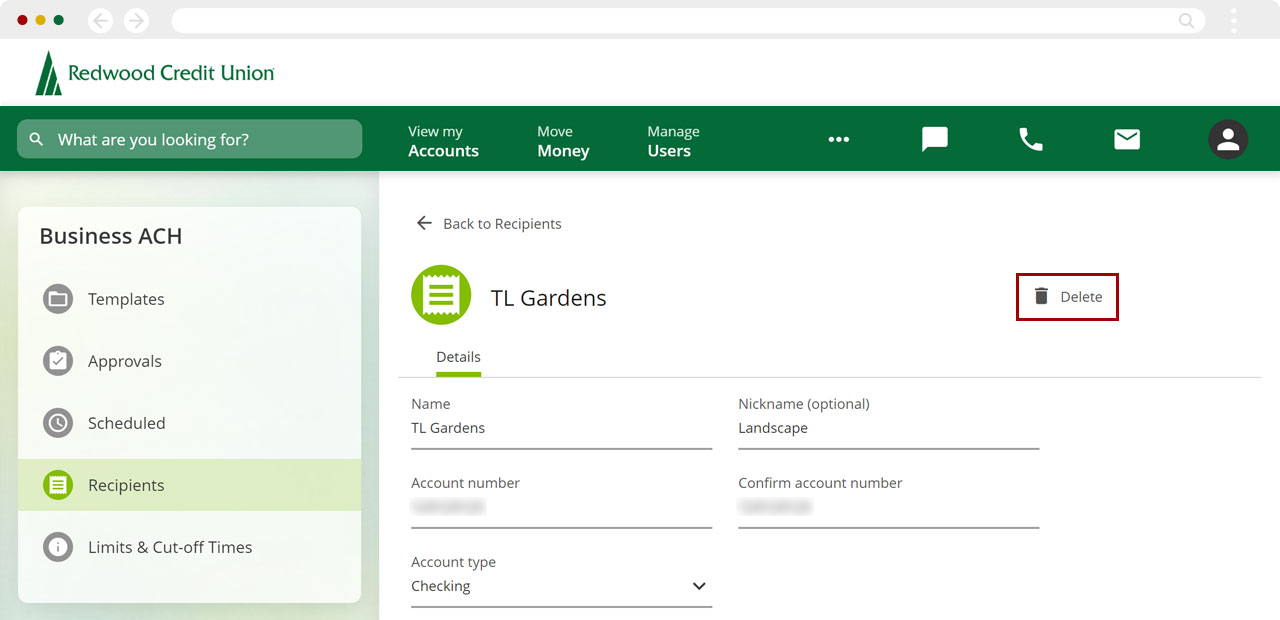
On the confirmation page, click Yes to delete the recipient.
You will see a message confirming your recipient was deleted.