Bill Center: How to edit a group
This article covers steps for the updated Bill Center experience. If you are still using the previous version of Bill Pay, go to Bill Pay: Setting Up Groups and Making Changes.
Mobile
If you're using a mobile device, follow the steps below. For computers, go to the desktop steps
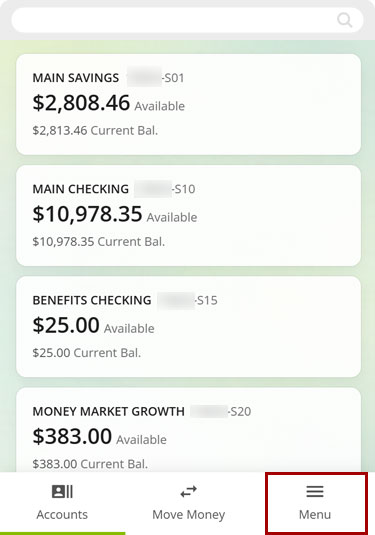
At bottom right, select the Menu.
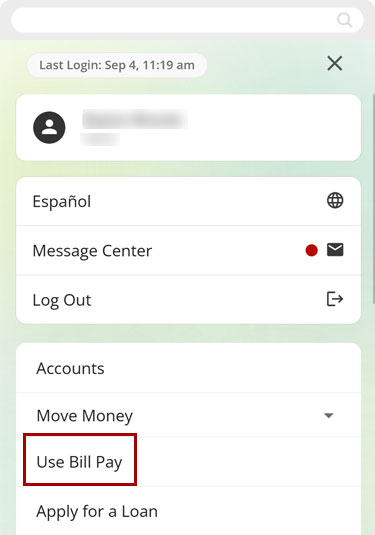
Select Use Bill Pay.
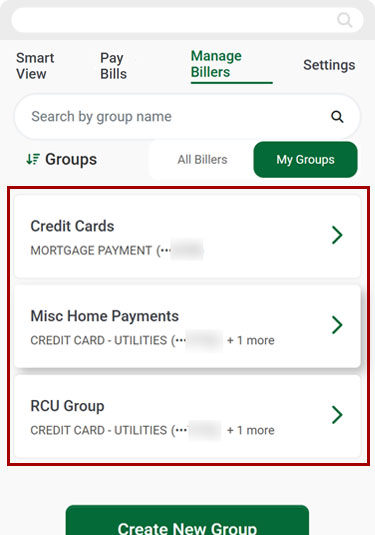
Select Manage Billers, then select My Groups.
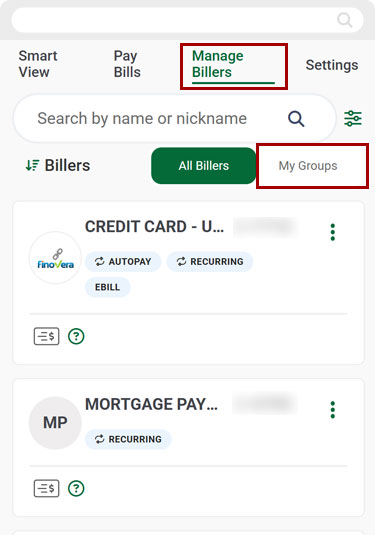
Select the group you want to edit.
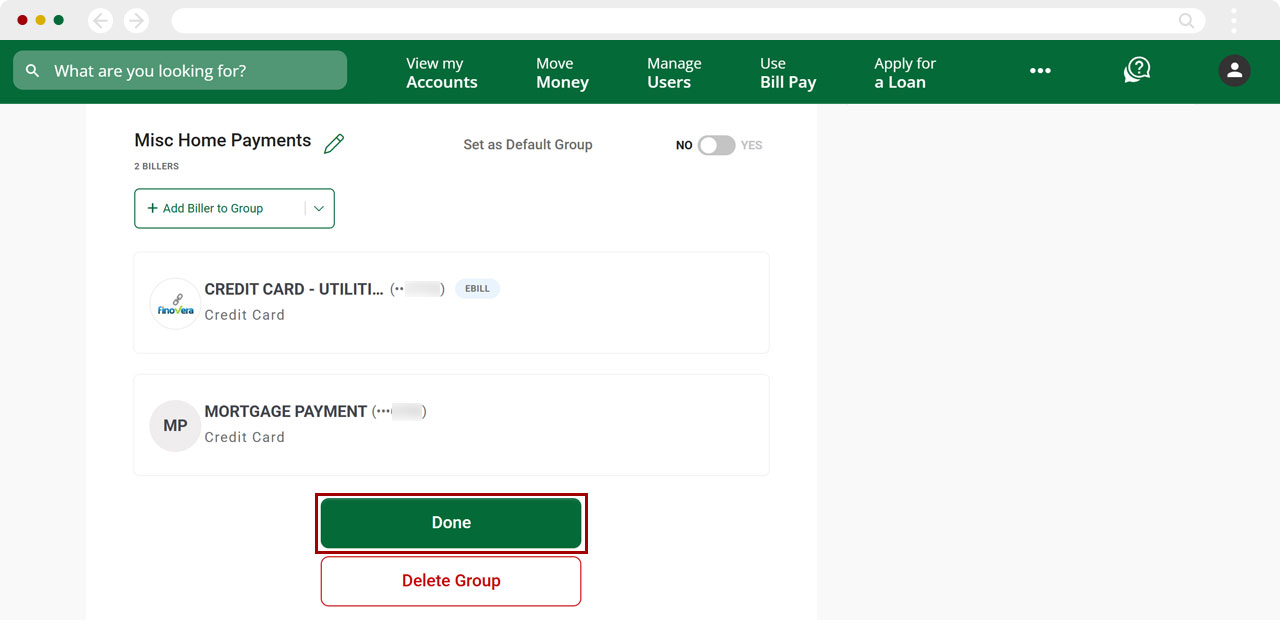
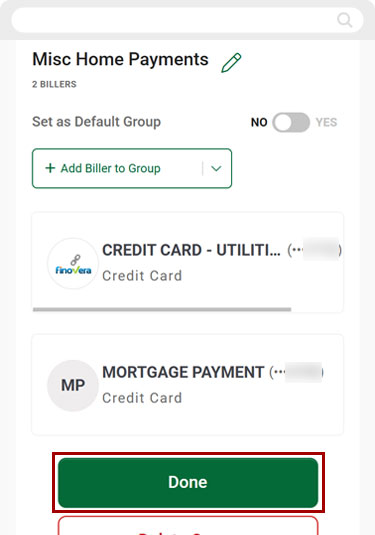
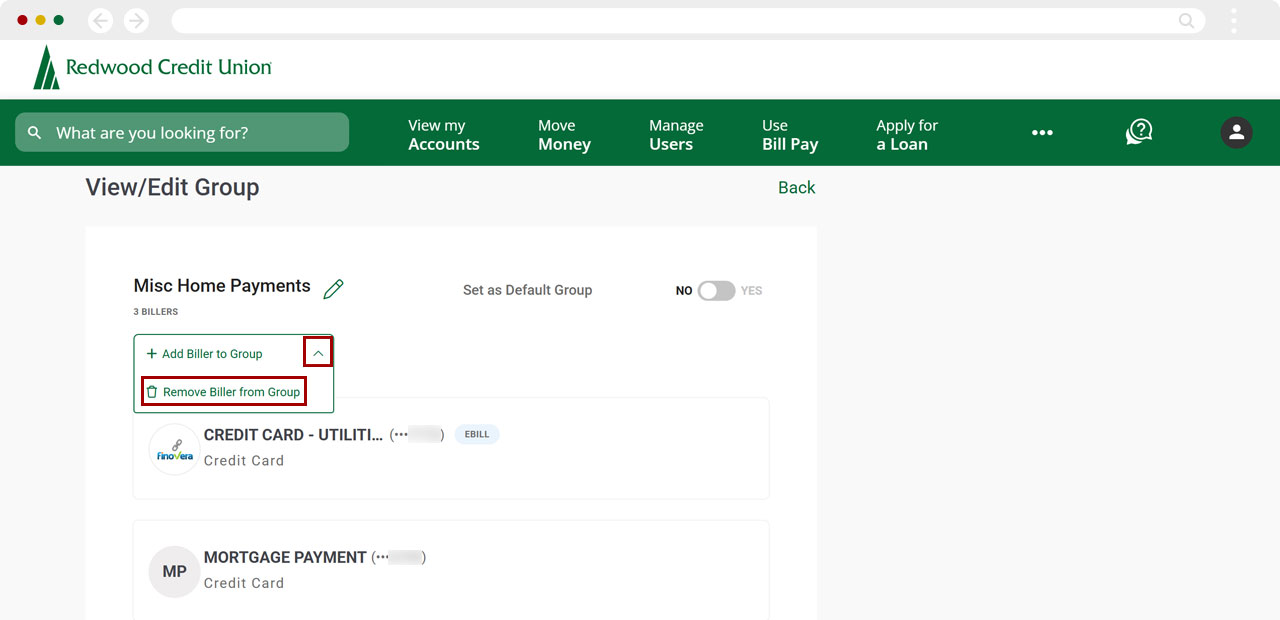
Select the pencil icon to edit the group name.
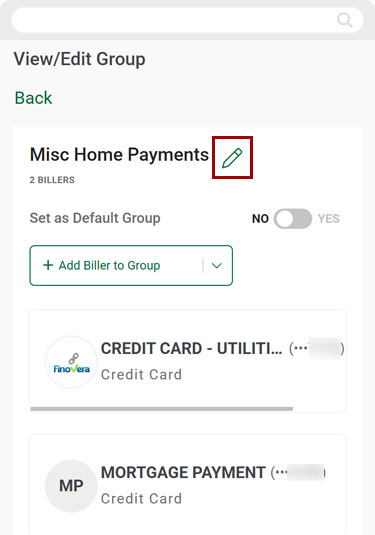
To make a group your Default Group, select the Set as Default Group toggle switch to Yes.
Note: This will change your Pay Bills page to display groups, with your preferred group as the default.

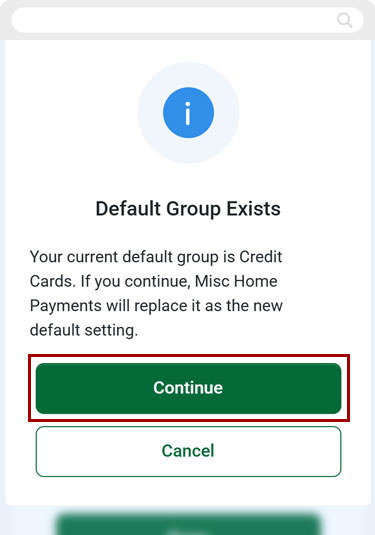
If you previously selected a different Default Group, you must now select Continue to confirm your new choice.
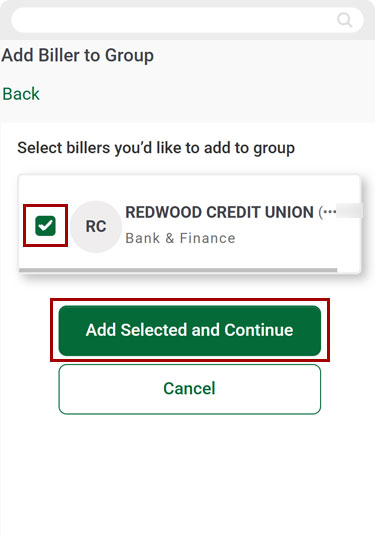
To add another biller to the group you are editing, select Add Biller to Group.
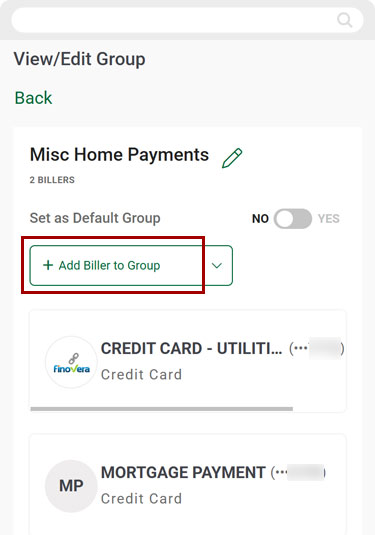
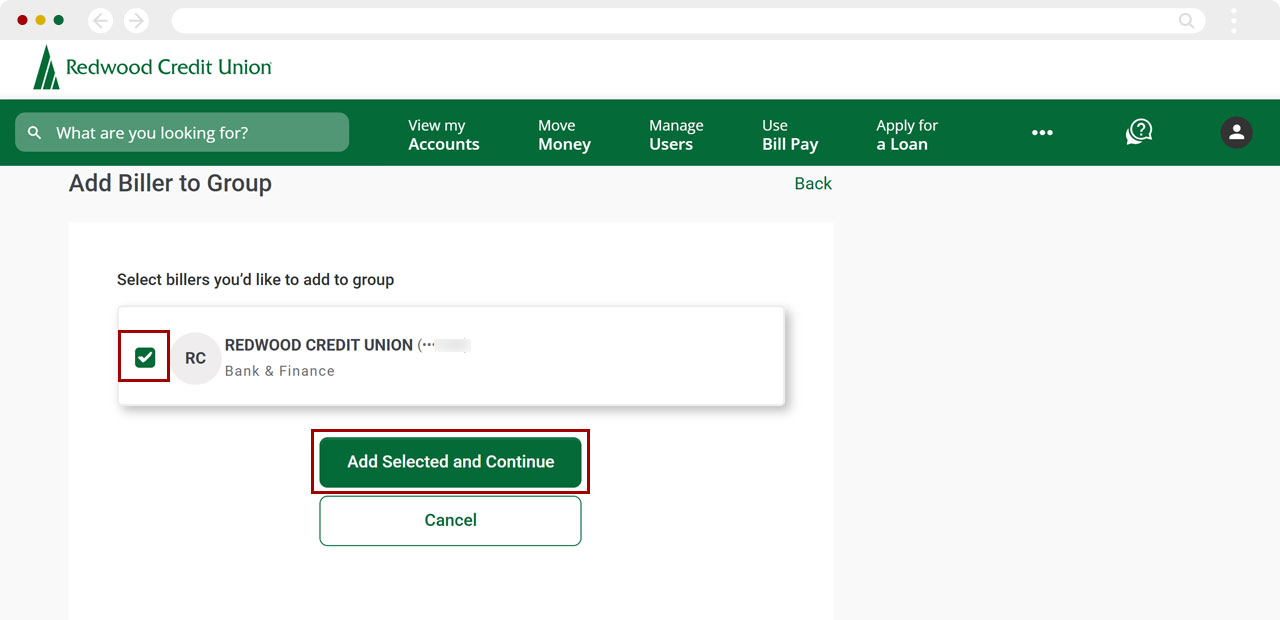
Select the billers you want to add, then select Add Selected and Continue.
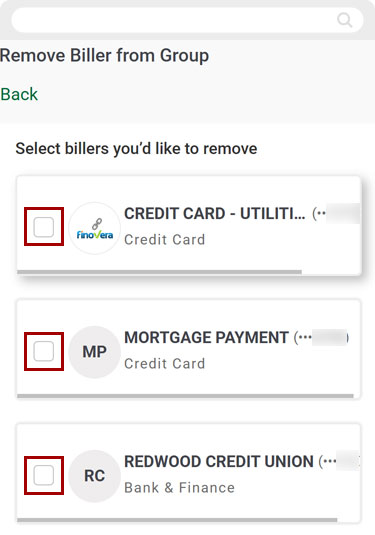
To remove a biller from the group, select the arrow to the right of Add Biller to Group, then select Remove Biller from Group.

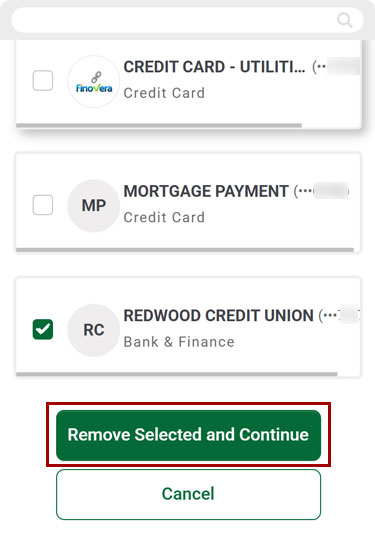
Select the billers you want to remove from the group.
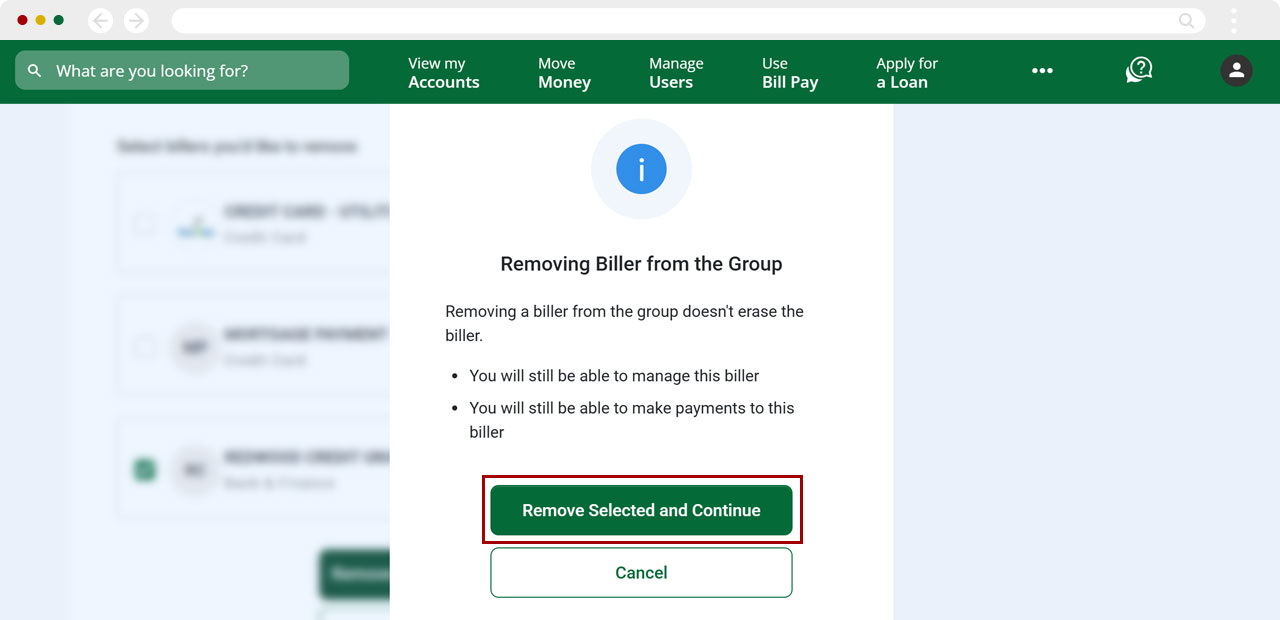
Select Remove Selected and Continue.
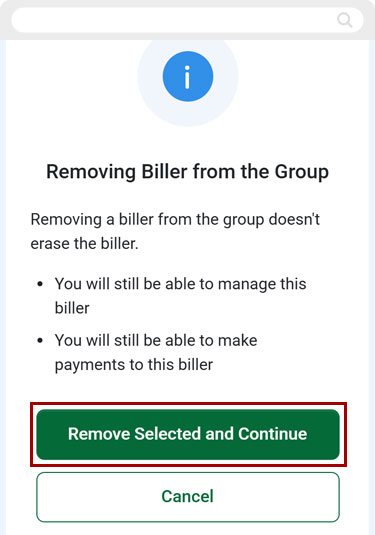
Select Remove Selected and Continue again to confirm.
When you have finished all your edits to the group, select Done.
Desktop
If you're using a computer, follow the steps below. For mobile devices, go to the mobile steps
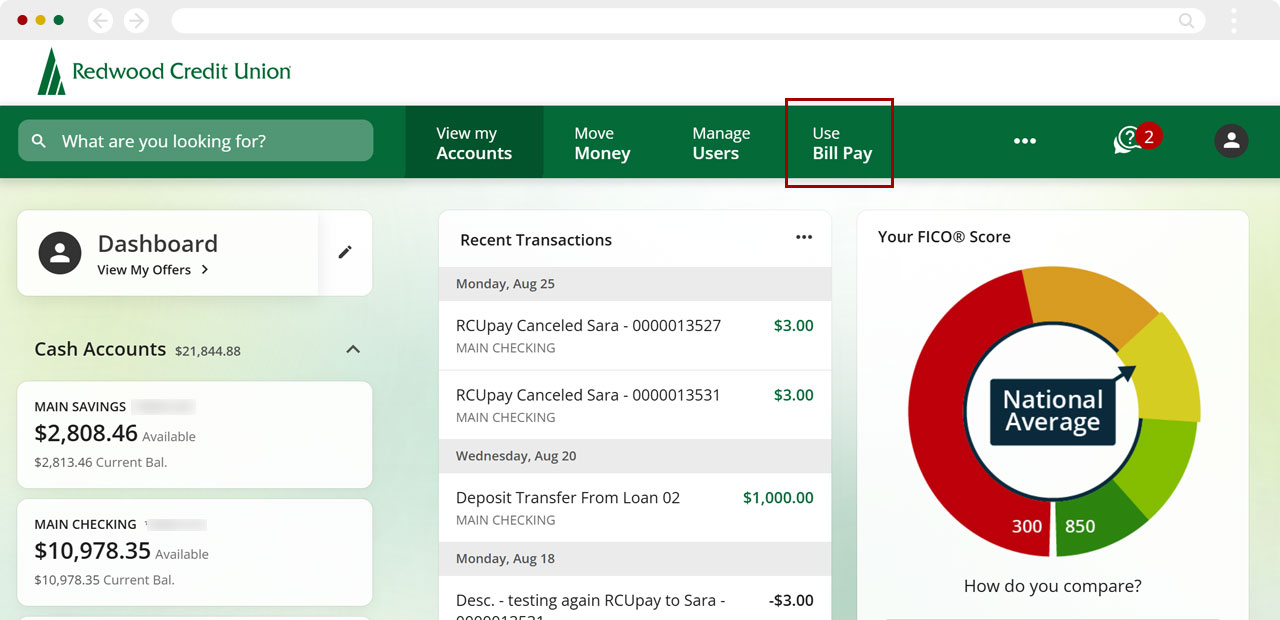
From the top menu, select Use Bill Pay.
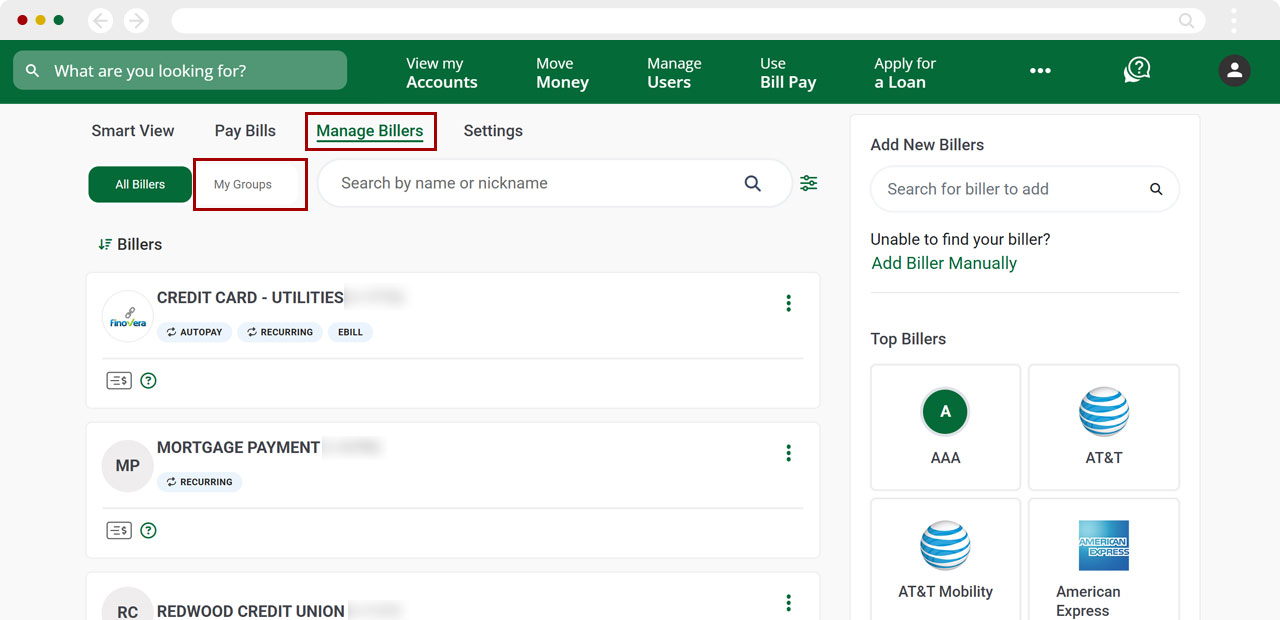
Select Manage Billers, then select My Groups.
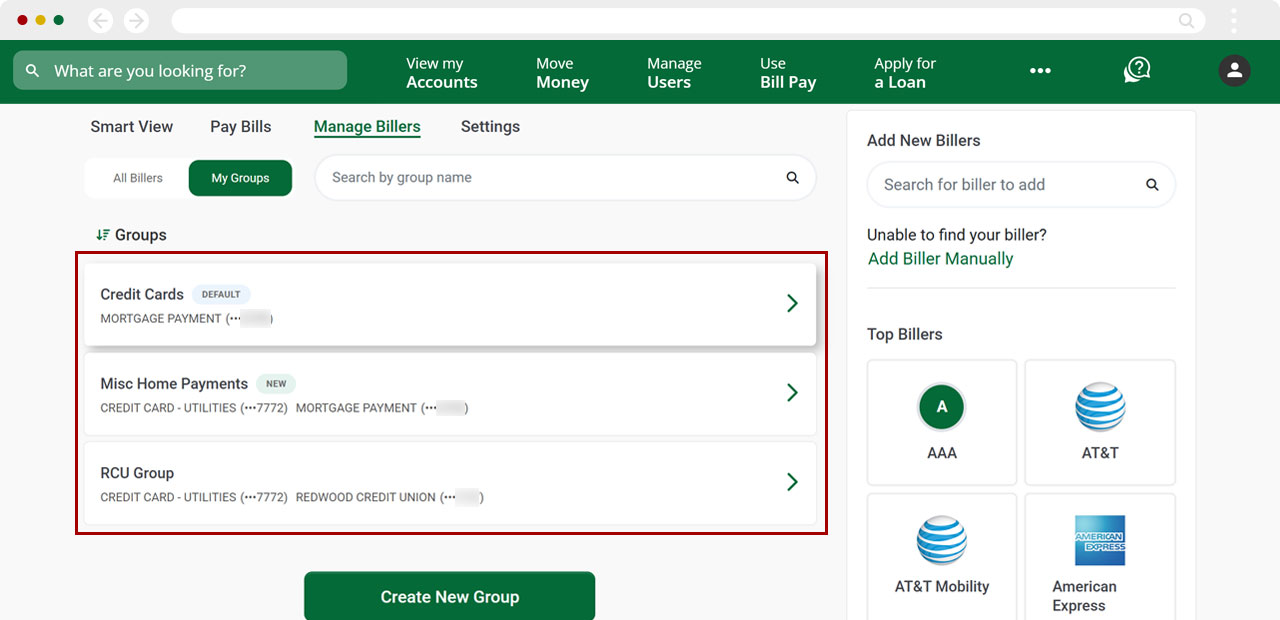
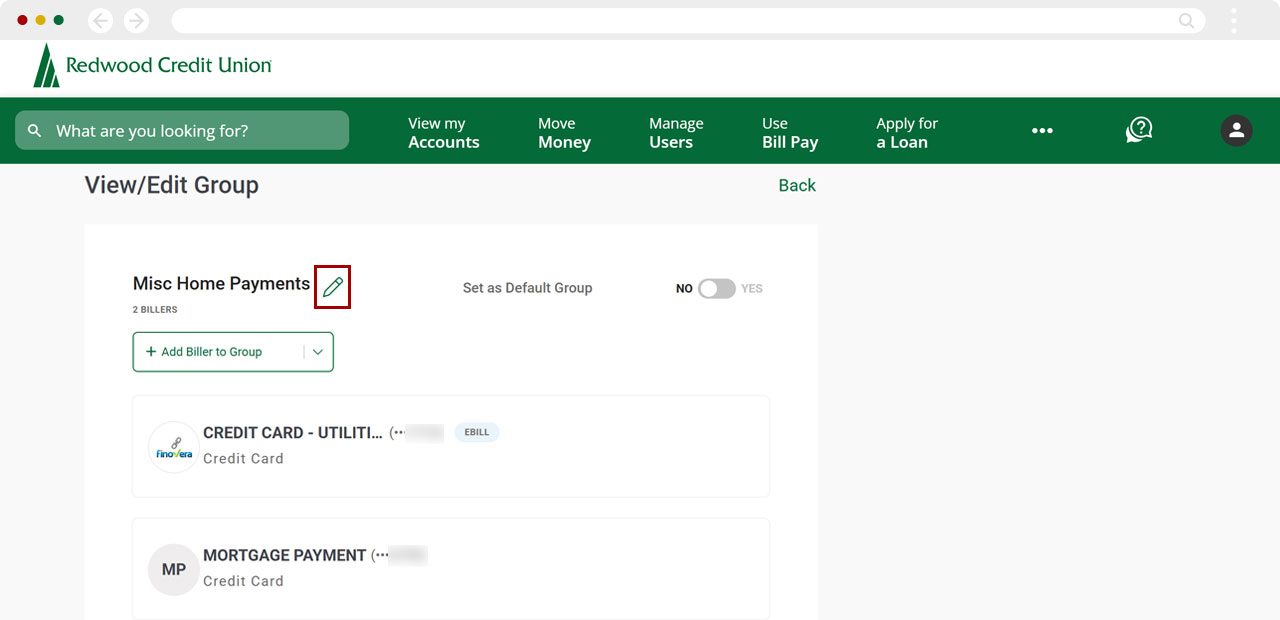
Select the group you want to edit.
Select the pencil icon to edit the group name.
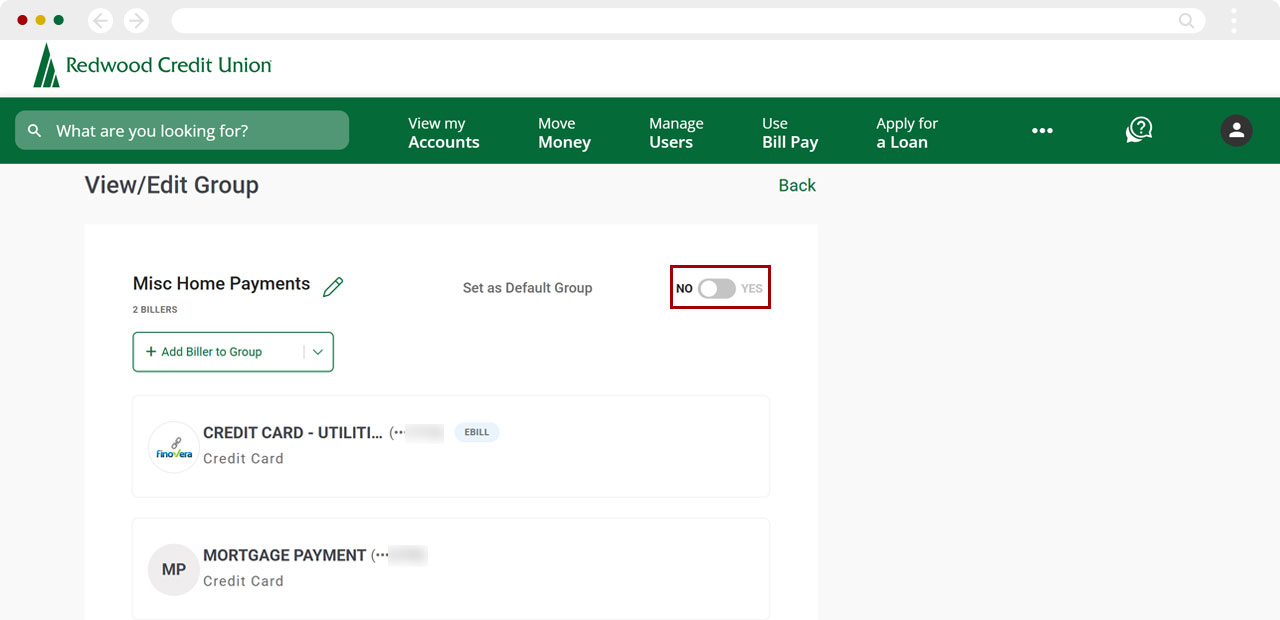
To make a group your Default Group, select the Set as Default Group toggle switch to Yes.
Note: This will change your Pay Bills page to display groups, with your preferred group as the default.
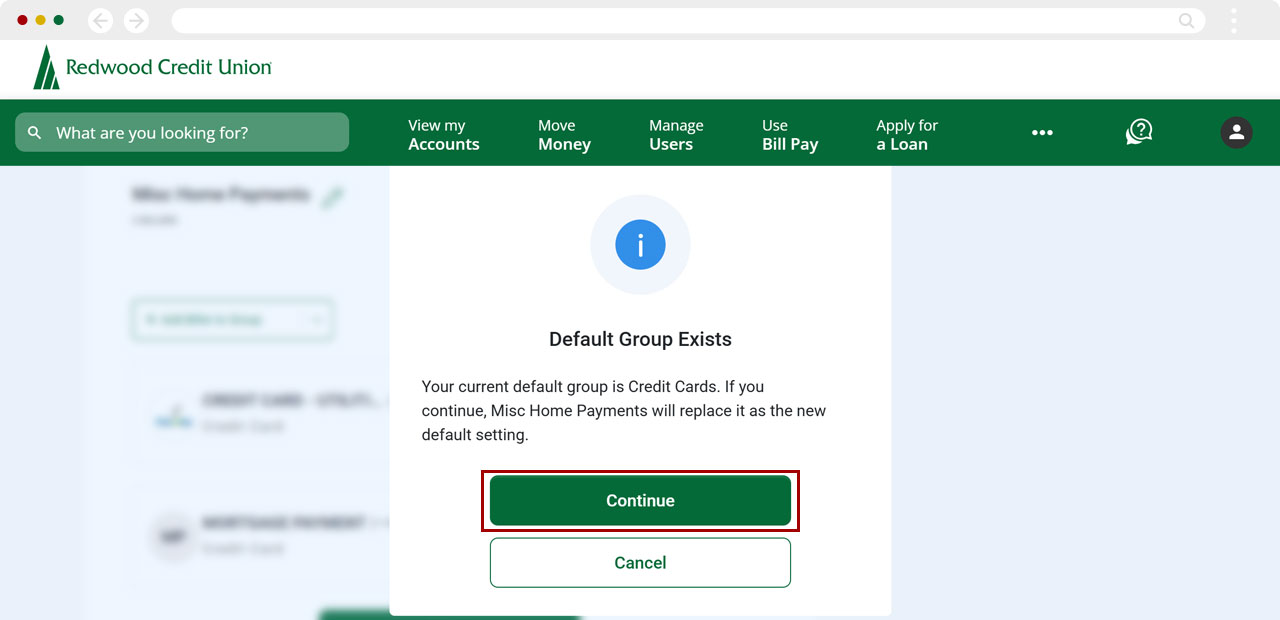
If you previously selected a different Default Group, you must now select Continue to confirm your new choice.
To add another biller to the group you are editing, select Add Biller to Group.
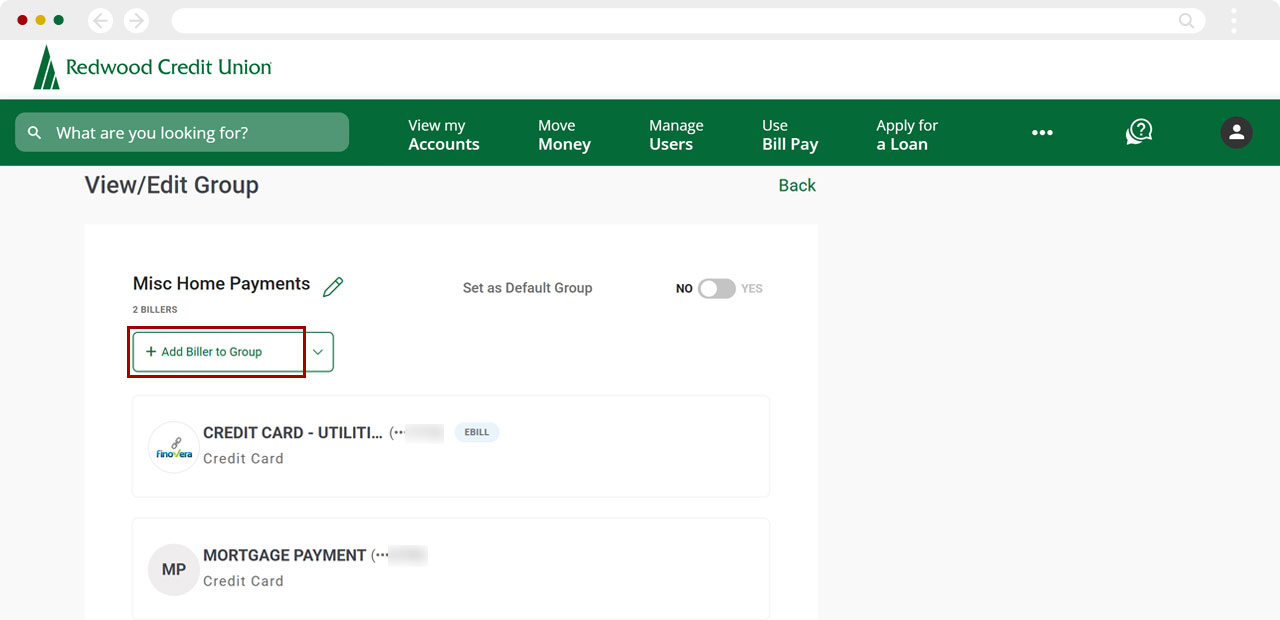
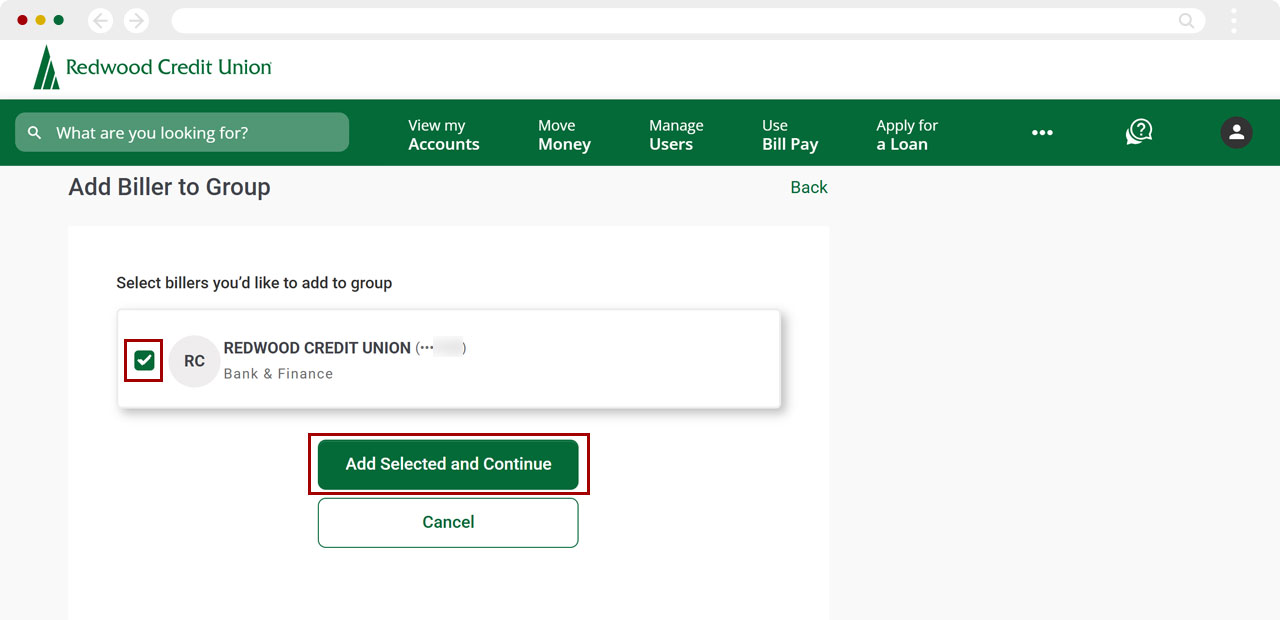
Select the billers you want to add, then select Add Selected and Continue.
To remove a biller from the group, select the arrow to the right of Add Biller to Group, then select Remove Biller from Group.
Select the billers you want to remove, then select Remove Selected and Continue.
Select Remove Selected and Continue again to confirm.
When you have finished all your edits to the group, select Done.