Business ACH Services: How to Schedule a Template
This article covers how to schedule a template.
To create a template, review our article How to Add, Edit or Delete a Template.
To add recipients to templates, review our article How to add recipients to a template.
Mobile
If you're using a mobile device, follow the steps below. For computers, go to the desktop steps
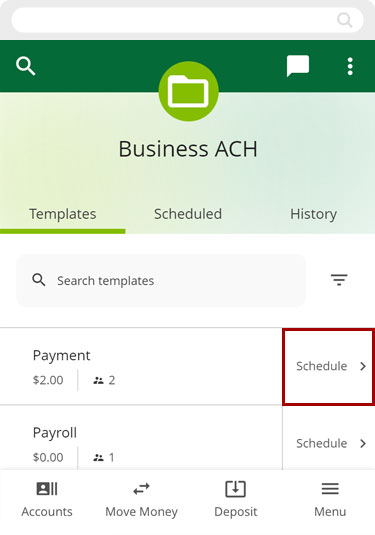
From the Templates screen, tap Schedule.
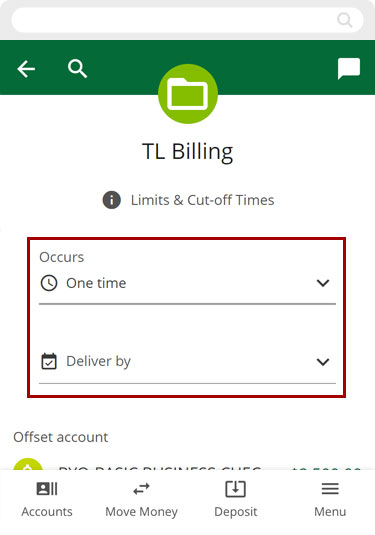
Select when the payment Occurs and the Deliver by date.
Tap on the Recipient to uncheck the prenote and enter the Collect amount. Tap Save.
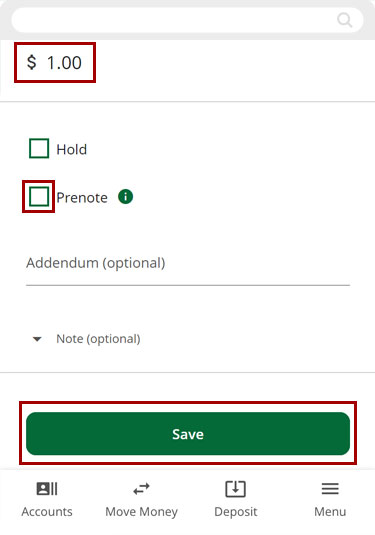
The prenote will no longer be on the recipient. Tap Review.
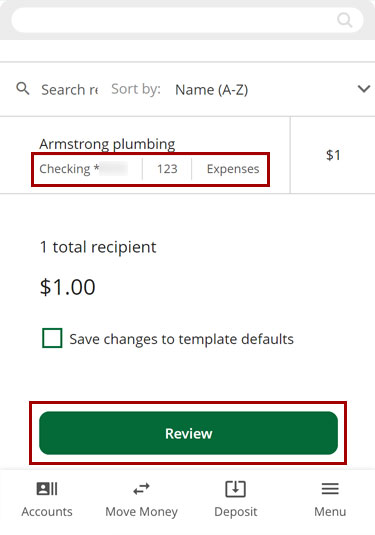
If the information is correct, tap Submit.
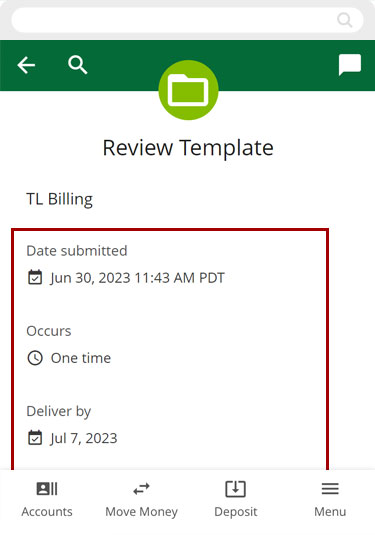
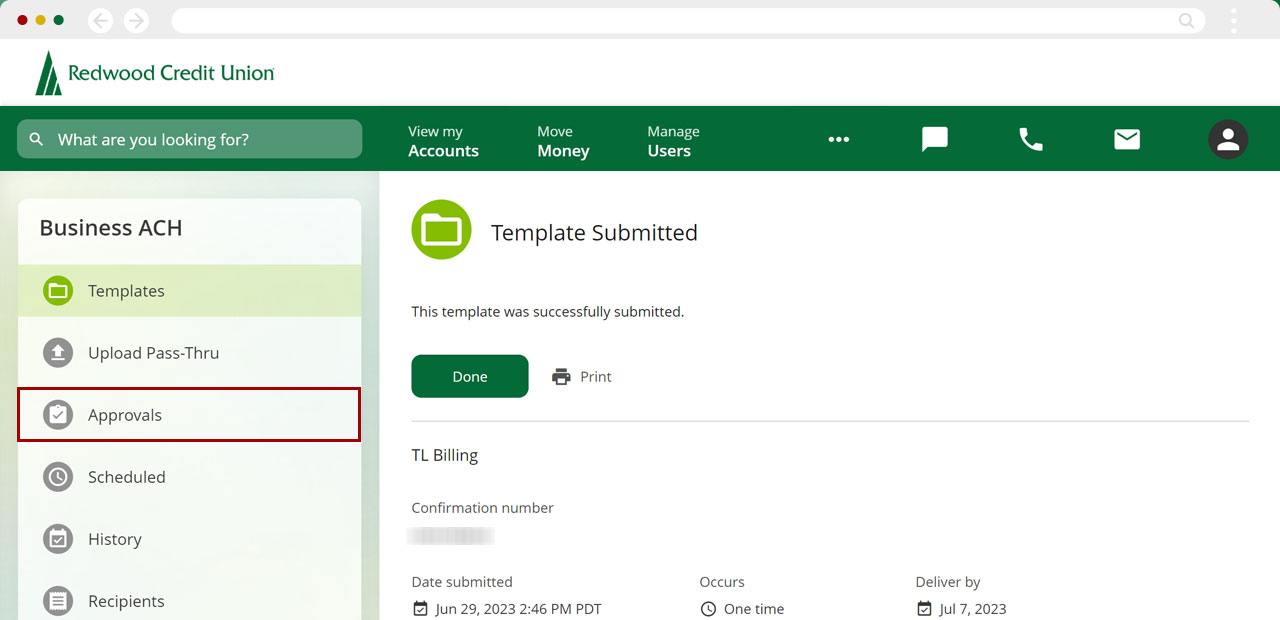
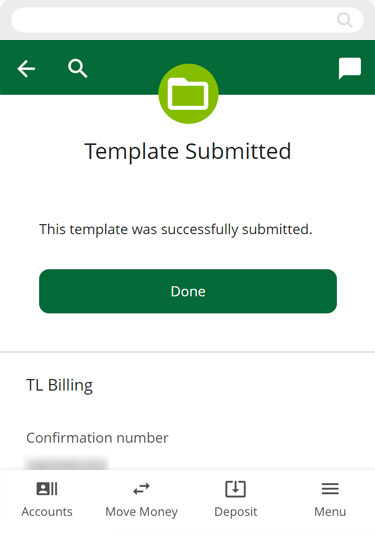
You will see a confirmation page that the template with the prenote was submitted. Tap Done.
Important: You need to approve the template, or it will not be processed.
Desktop
If you're using a computer, follow the steps below. For mobile devices, go to the mobile steps
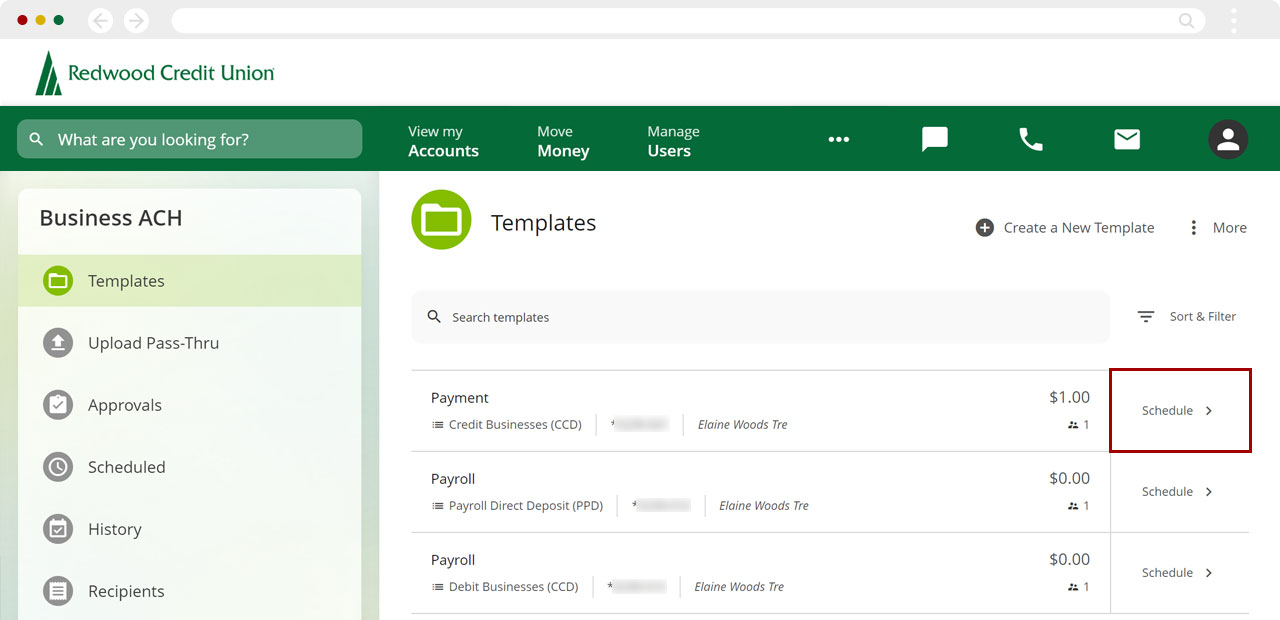
From the Templates screen, click Schedule.
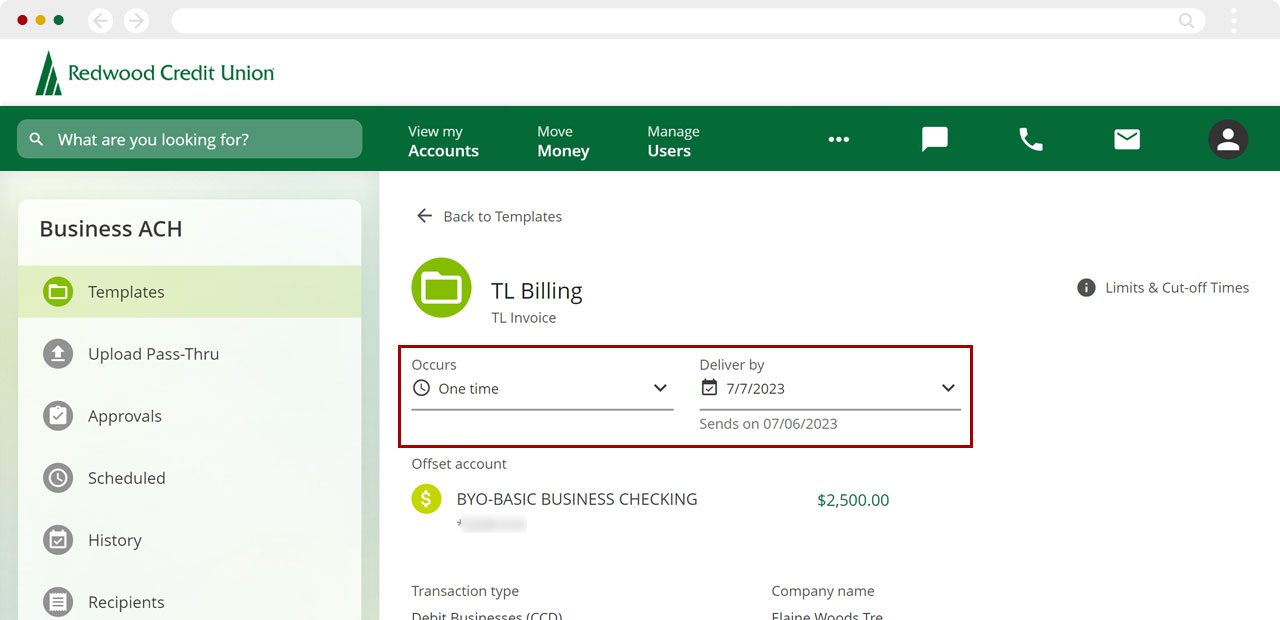
Select the payment should Occur and the Deliver by date.
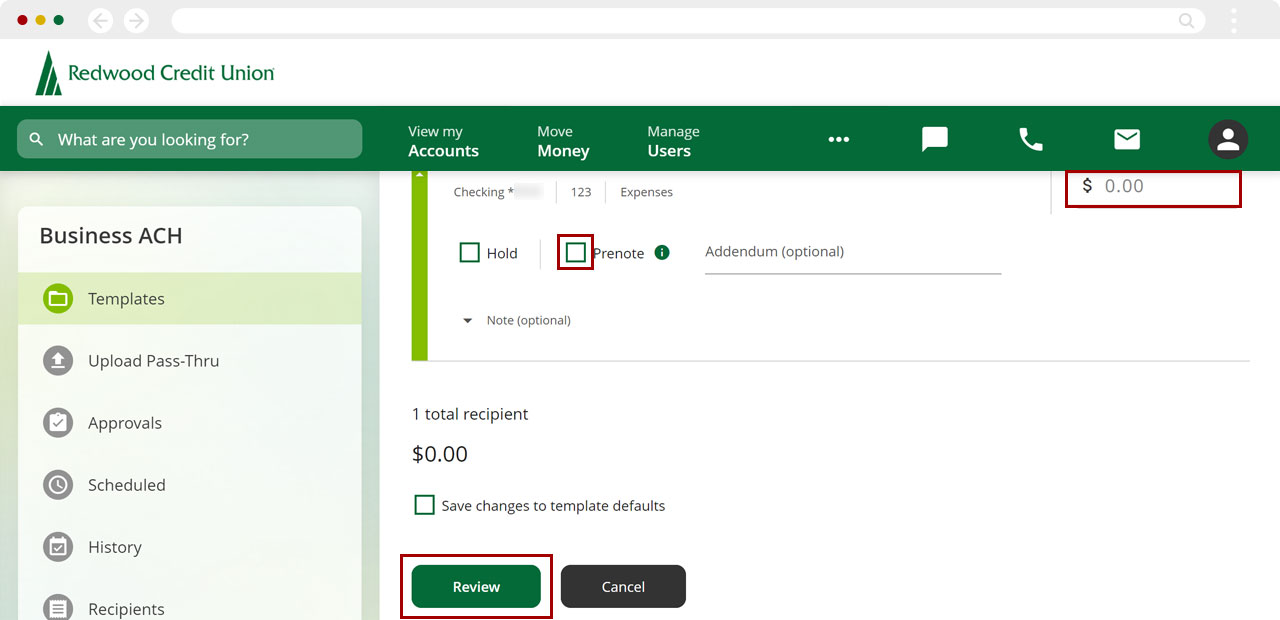
Click on the recipient to uncheck the prenote and enter the Collect amount. Click Review.
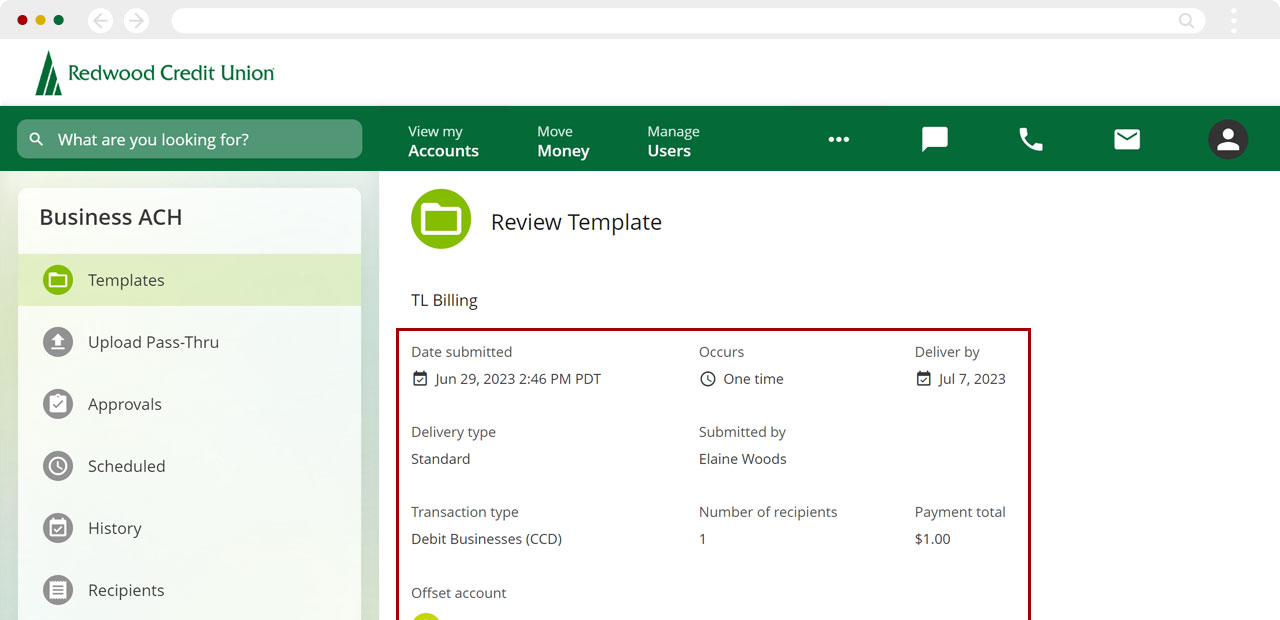
If the information is correct, click Submit.
You will see a confirmation page that the template with the prenote was submitted.
Click Done.
Important: You need to approve the template, or it will not be processed.